


I bought a men's pant pattern when Josephine's Dry Goods was closing in Downtown Portland. When I bought the pattern I looked at the size it said 34-36-38-40...I thought that meant waist. No it did not. When I finally pulled out the pattern the waist size only went to 34". My husband said he was a 36. So I took an on-line Craftsy class on how to enlarge and reduce ready made patterns, it was called Create Any Size: Grading for Sewers. I found this to be very helpful. I had asked my husband over and over about his waist size and he kept repeating that he was a 36...that's what his Levi's said & they fit!! So I enlarged the pattern to a 36" waist. Well guess what...they were too small. I had completed the body of the pants and put on the waist band, had my husband try them on and he immediately stated they were too small. I said they were a 36", I said that I needed to measure his waist...my measurement came to 42". He then asked me if I was saying he's fat...what? NO...I'm saying you're not a 36". An argument occurred and he stated again that the Levi's were a 36". So when he left the house I measured the Levi's that he claimed fit him...the tag did say 36...but in fact the waist measurement was 39"!!! So I removed the waist band and the darts in the back of the pants. I did not want to give up on these pants because it was only the second time I have put in a front zipper and I was quite proud that it worked and looked decent. I had him try on the pants again, I ended up putting smaller darts in the back of the pants & I made a new waist band that was 40". Today I had him try on the pants with the new waist band and he loved the fit. They are snug but not tight. He can wear the pants with out a belt and they will stay up. The fabric I used was from a couple years ago, I bought 4 bolts of fabric from a woman on craigslist for $60. At that price it's as cheap as muslin fabric. I don't like to make simple muslins...I like to make wearable muslins. These pants are quite loud and they are a nice medium weight cotton. Now that I understand the pattern, I can make him a pair of Jeans or some nice wool pants. The pattern is Vogue 8719, and it's a fairly simple pattern. This project took me about 10 hours total, the next pair should only take about 5 hours to make. Or maybe I will make a pair of pants for me!!


As a reward for completing the pants I made a couple more triangle bags. These are heading to a friend that requested one...and today is her birthday. Some cute Melody Miller fabric with a crushed penny from Portland.... Happy Birthday!!
We finally repaired out front stairs!!! I do not have a before photo but believe me they were awful, moss had grown in the cracks and the treads were rotting out. We painted the stairs several years ago in an effort to make them last and it worked. But now it was time to really fix the stairs, mostly I wanted a clean look when you came up the front stairs. I mean it's the first thing people see when they approach your house..so make a good first impression. Rotting stairs are not a good first impression.
Yea!!! I saw my tote bags in the store again. This time it's the illustration my niece did for me of a hedgehog wearing glasses reading a book. They started selling over the spring break and they ordered 25 more hedgehogs. I was delivering 125 bags of the skeleton carrying books, that bag is doing great.
Zipper bags
I
have been obsessed with these zipper bags since I learned how to make them on Craftsy. It's a free class with Kristin Link of Sew Mama Sew. They are easy and take up very little fabric, about a fat quarter of fabric. I made 3 more the other evening in about an hour. I use scrap leather for the little handle on the left of the bag. Though I really like these bags they are a little large for my purse. I needed something to hold change instead of just dropping quarters into my bag. Then I found this tutorial!!! on making small triangle pouches.


I made 2 pouches. The first one is the tan one made from scrap upholstery fabric. The fabric was a little heavy so I had some problems sewing it all together. Also the original tutorial called for a 4" zipper. I had a 6" zipper so I just increased the size of the bag. It turned out a little too large, not to mention that it also was too bulky. I had some problems turning it inside out too as I forgot to unzip the zipper. I decided to try to make another one. I had taken a zipper out of a dress a couple weeks ago and I cut that red zipper to 4". I used some more scrap material, it was a heavier fabric but not a heavy upholstery fabric like the tan fabric. I whipped this little blue one up in about 15 minutes. The best thing is when you unzip the pouch you can see everything inside. The other change purse I had was problematic because the opening was so small I could not see inside and often had to dump all the change out on the counter. It was a little frustrating for folks in line behind me at the grocery store. I love these little pouches. I want to make a bunch of them using crushed pennies as zipper pulls.

I saw this quilt hanging on the wall at Modern Domestic when I was in there to sign up for a class. I really like the quilt. The quilts that are currently on the wall are all made by instructors at Modern Domestic. I forgot to look at who did this quilt but I wanted to share it because I really like the design. I love the deer head and the quilt is quilted all over with a tree pattern, a very Northwest quilt.
Halloween Bag

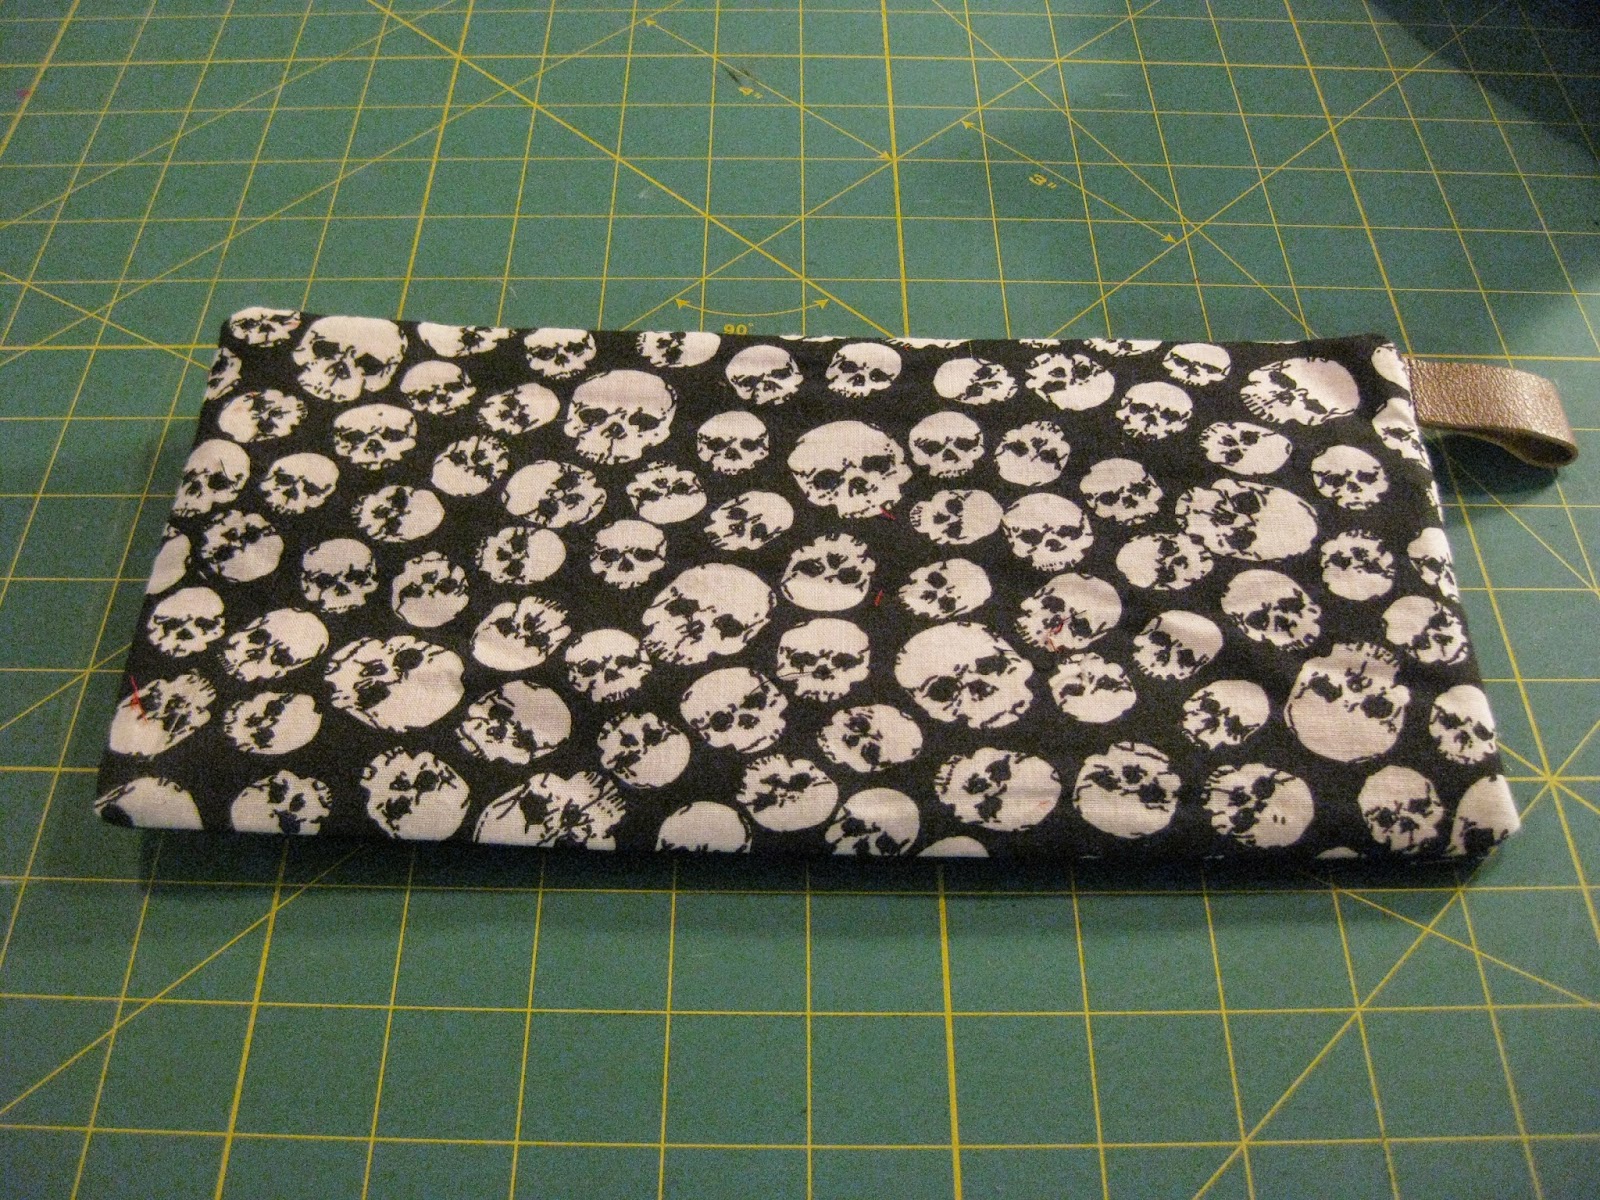
I made a zipper pouch for Halloween. I was trying a product called Screen Ink Discharge. It's mixed with screen printing ink and bleaches out the dark fabric and replaces it with the color of the ink. I wanted a nice white so I used white ink and I think the skull & cross bones came out nice. I have used soft scrub in the past but I have had some problems with the image not completely bleaching out. The other thing about his Ink Discharge is I can add a color like yellow or pink and it should stand out. I will do some more tests and let you know how that turns out. As for this product as I used it, it worked. I would use it in an area that has ventilation as the label suggests, the stuff stinks. You have to iron the product to make it react, which is fine but it stinks. So be prepared. I would also suggest that you wash the item because it stinks. I did not wash this item and I wish I did. It doesn't smell any more now but it did for about a week. I also added a leather handle on the side as I receives some nice leather scraps from a friend and I thought this was a nice place to use some of that gift. I want to make some more of these as I have some more of the skull & crossbones, as well as the skeleton heads. The red fabric on the inside is a lining that I bought at Scrap in Portland. I bought a used bolt of abut 15 yards for $25 a couple years ago. I have used a lot and still have a lot left.


